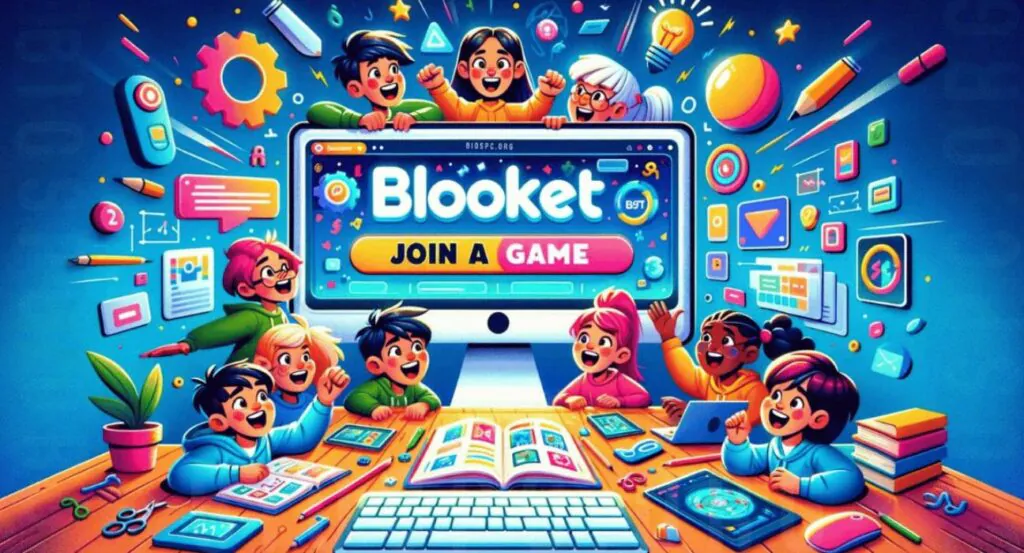
Joining Blooket Games – A Step-by-Step Guide
blooket join gamet has become one of the most popular online learning platforms for students and teachers in recent years. Its arcade-style educational games are an engaging way for students to review concepts and compete with their classmates. One of Blooket’s key features is the ability for teachers to create custom games for their students to join. However, the process of having students join these games can be confusing for those that are new to the platform. This article will provide a step-by-step guide to joining Blooket games so you can quickly get your classroom up and running.
Setting Up Your Teacher Account blooket join game
Before creating any games for your students to join blooket join game, you’ll first need to sign up for a teacher account on Blooket. Navigate to the blooket join game website and click on “Create Account” in the top right corner. Select the “Teacher” option and enter your name, email address, and desired password. Blooket will send a confirmation link to your email. Click the link to verify your account. Once logged in, you can customize your teacher profile by adding a photo, bio, and class names.
Creating Your First Game
With your teacher profile set up, you can now start building games for your students. The arcade-style games on Blooket fall into a variety of categories like trivia, word puzzles, typing challenges, and more. To create your first game, click the “+ Create” button at the top of the page. You’ll be taken to a menu where you can browse game templates and customization options. Select a template that fits your content or learning objectives. For example, if reviewing science vocabulary, you may choose the “Password” game template. Once you’ve selected a template, you can add your own questions, answers, images, and more. Preview your game and make any edits before saving it.
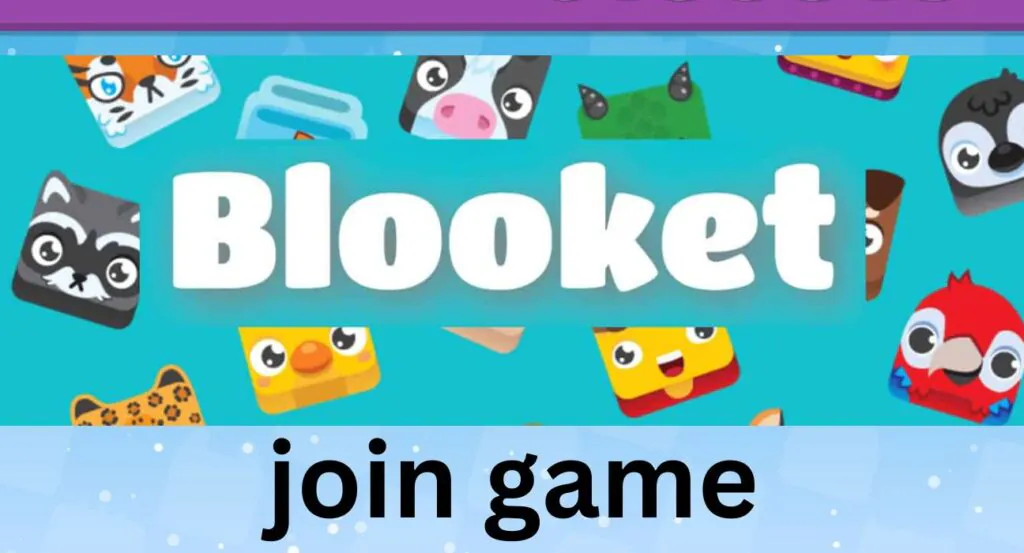
Sharing Game Codes with Students blooket join game
Now that your game is created, you need an easy way to have students access it. Blooket generates a unique game code for every custom game. As the host, you’ll be able to view this blooket join game code from your game menu. The easiest way to share this with students is by displaying it on your classroom screen and having them manually input it on their devices. However, you can also email the code or create student login cards with the code printed. Having this game code gives students the access they need to join your custom lobby.
Demonstrating How to Input Game Codes blooket join game
While a blooket join game code may just be a simple set of letters/numbers, some younger students may find inputting codes confusing at first. Before launching your first game with students, take a moment to demonstrate the join process. Display your game lobby code and show students exactly where to click “Join Game” and manually enter the code on their screens. Model this a few times and have students practice joining with an example code. Ensuring they understand this basic process will make launching all your future games much easier!
Launching Your blooket join game!
Once you’ve shared the game code and demonstrated how to use it, students can then join your custom blooket join game lobby. As the host teacher, click “Start Game” when everyone has joined to begin! The game will launch and students will be able to start competing and reviewing the content/questions you’ve built. One benefit of Blooket is being able to use your teacher dashboard to monitor student progress in real-time as they play. You can view their scores and accuracy to see which concepts they’ve mastered and which they still need practice on.
Wrapping Up and Reviewing Results blooket join game
As class wraps up, take 5-10 minutes to review the Blooket game results as a group. Display the scoreboard from your teacher view and discuss which questions students struggled with. You can also ask students to reflect on the experience – what did they learn? What did they enjoy? Gathering feedback and reviewing data from the games allows you to improve and tweak them for future use. Share the game code again so students can access it at home or share it with parents as a study resource.
Using custom Blooket games is the perfect way to add an interactive, game-based learning element into your instruction. Following this simple guide of creating games, sharing codes, demonstrating join procedures, launching lobbies, and reviewing results will set you and your students up for blooket join game success! With regular use, both teachers and students will become experts at maximizing this fun and effective learning platform.
![Abofahdsh FF APK [Latest Version] v5.1 Download For Android](https://apkhuts.com/wp-content/webp-express/webp-images/uploads/2024/03/image-150x150.png.webp)


Comments closed.